How to switch to Yoast SEO for Shopify
Yoast SEO is trusted by over 13 million users and it is available for Shopify! You may have heard all the buzz around it and you want to start using it to get the best SEO for your online shop! Great idea! However, if you are using another SEO plugin, you are probably wondering if it’s a hassle to switch. Well, we have a feature in Yoast SEO that can help you with that!
The SEO migration tool in Yoast SEO lets you import crucial SEO data, such as SEO titles, and meta descriptions. In this article, we explain how you can do that.
Need help switching to Yoast SEO?
Contact our support at support@yoast.com or reach out to live chat in the Yoast SEO for Shopify app. They’ll be happy to help!
How to import data from other apps
To import your data from another SEO plugin, you’ll need to export your data with a third-party app, transfer it to a Yoast SEO template and import it back into Yoast SEO. For a detailed explanation of this process, follow the steps below.
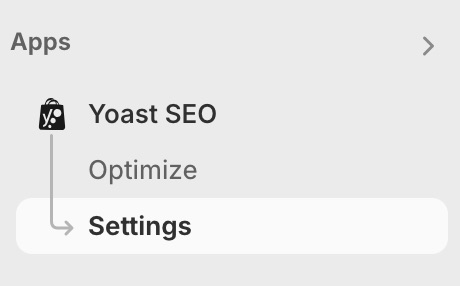
- Open the Settings tab in Yoast SEO.
You can find the tab in the Shopify sidebar on the left-hand side, under the Yoast SEO menu item in the Apps section.
- In the Settings screen click on SEO data migration under the Site settings item.
The SEO data migration screen will open.
- Use a third-party app to export the data.
At this moment, Yoast SEO cannot export data from other plugins. So, you will need to use a third-party app. We recommend using Metafields Guru since we have tested it and know it works. With Metafields Guru, you can export metadata for products, collections, pages, blogs, and blog posts. However, note that you’ll need to make a separate export for each content type.
- Export the metadata in a CSV format with Metafields Guru or the app of your choice.
If you are using Metafields Guru, you can use this guide to go through the export steps. Note that with Metafields Guru, you will export the data of all your other apps. So, if you are using more apps that add metadata to your content, you will see all of them in the file. You can filter what gets exported with the namespace field in Metafield’s Export settings. For instance, if you add
global
in the namespace input field, you will only get the default Shopify metadata exported. However, some SEO apps also useglobal
as their namespace, while others use the app name, likeseo_booster
, for instance. If you are not sure what the namespace of your SEO app is, leave that field empty. - Open the exported CSV file.
A CSV is a special format that you can open with Excel or Numbers (Mac). If you use Numbers, the file will be formatted correctly. In Excel, your file may not get displayed correctly, to fix it follow these steps
– Once the file is downloaded, open a new Excel file and navigate to Data.
– Click on Get Data (Power Query) in the top left corner.
– Select Text/CSV.
– Click Browse to find the downloaded file.
– Click Next.
– Click Load. - Download the Yoast SEO template.
You can find the template here – Yoast CSV file template. If the file is not formatted correctly, repeat the steps described in step 5 for opening the exported file.
- Copy the content of the exported CSV file from step 5 into the Yoast SEO template.
Do not edit the order or the names of the columns! Otherwise, when you import the file back to Shopify, Yoast SEO won’t be able to recognize the values. You can use this list to see how to insert the values properly.
Note that if you are using Metafields Guru, there may be multiple rows with data for the same product. In Yoast SEO, you will only need to add the ID once and add all the information in one row. Check the key column of the Metafields file to see the data they contain. For instance, in the example below, there are two rows for the product Tea mug, one for the SEO title and the other for the description. You can find the contents of the title and the description in the value column. To import the metadata in Yoast SEO, do this:
– Copy and paste the ID (copy the full sting including gid://shopify/ContenTtype) into the ID column of the Yoast SEO CSV template.
– Copy the tile from the value column, and paste it into the SEO title column in the Yoast CSV template.
– Copy the description from the value column and paste it into the Meta description column in the Yoast CSV template.
– Repeat for all the other products (or other content types). - Save the file.
Once you are done editing, save the file. In Excel, you can easily save the file by going to File and then Save. However, if you are using Numbers, you’ll need to do the following:
– Click File -> Export to.
– Select CSV.
– Click Next.
– Name the file and choose the destination folder.
– Click Export. - Import the file to Yoast SEO.
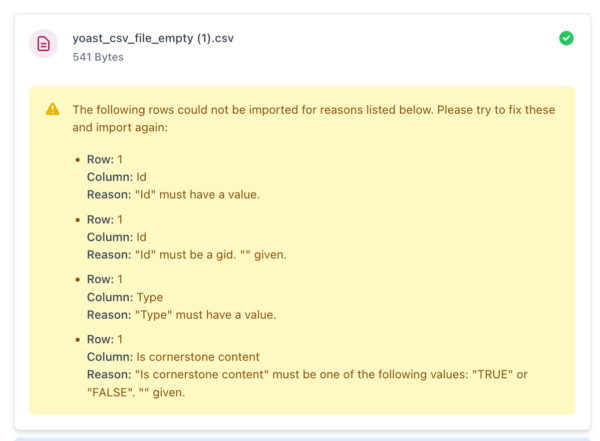
A modal appears showing the upload process. When the import is done, you will see a notification. If there were any errors during importing, Yoast SEO will tell you what those errors are (see example below). Then, you can edit the file according to the feedback and import it again.
- Check the data.
Note: When you import your data, you will see gray traffic lights for the edited content in the Optimize screen. But don’t worry. After visiting a product in the editor and returning to the overview, the SEO and Readability traffic lights should display the correct colors again.
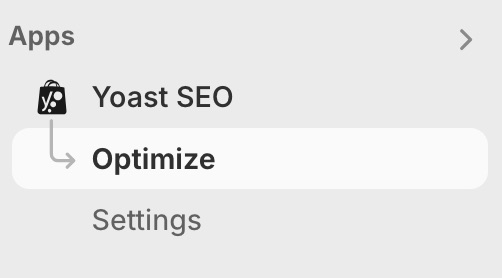
Go to the Optimize tab in Yoast SEO. Check if the SEO title, meta description, and focus keyphrase were implemented correctly in the overview screens for each content type.
Do you have some questions?
Contact our support at support@yoast.com or reach out to live chat in the Yoast SEO for Shopify app. They’ll be happy to help!