How to create a staging environment for your WordPress site

When making significant changes on your site, it’s important to test these first. The best way to do this is by using a staging environment. A staging environment is a copy of your site on your server that allows you to implement and test changes without affecting your real site. In this article, we’ll explain how to create your own staging environment.

Related articles

Creating a staging environment

There are two ways to get a staging environment for your WordPress site:

  1. through your hosting company;
  2. by using a WordPress plugin to create a staging environment.

Let’s discuss these two options in more detail.

1. Getting a staging site through your hosting company

The first thing you can do is ask your hosting company to create a staging environment for you, and most hosts should be able to do this for you. If for some reason, your hosting company isn’t able to create a staging site for you, you can use a WordPress plugin to create a staging site yourself.

Read more: WordPress hosting companies, vetted by Yoast

2. Using a WordPress plugin to create a staging environment

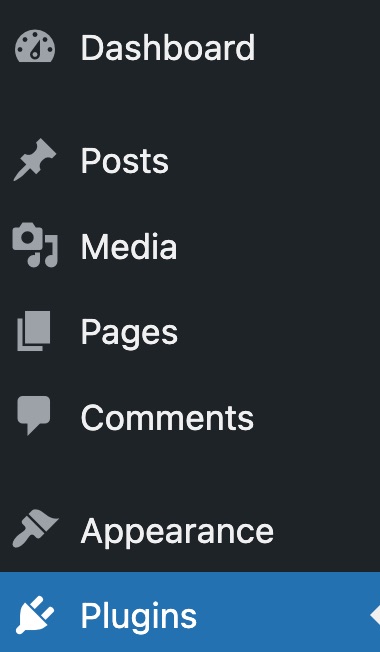
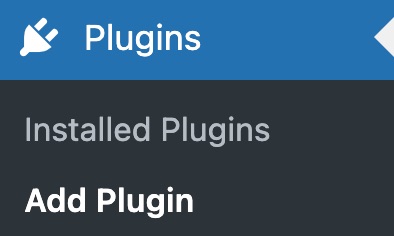
If your hosting company can’t set up a staging site for you, you can use a WordPress plugin to do it yourself. Follow the steps below to create your own staging site.

  1. Search for ‘staging’ in the WordPress plugin directory.

    The first step is to find a WordPress plugin that can help you with this. A quick search for ‘staging’ in the WordPress plugin directory results in many plugins (see image below). Results when searching for 'staging' in the WordPress plugin directory

  2. Select a trustworthy staging plugin.

    When choosing a plugin, make sure it is trustworthy by checking:
    – the reviews;
    – the number of active installations;
    – the last time it was updated;
    – its compatibility with your version of WordPress;
    – the quality, performance, and the support the plugin offers.

    Do you want to learn more about plugins in WordPress? Check out our free WordPress for beginners training!

  3. Make a backup of your site.

    The next step is to make a backup of your site. It’s important to make backups of your site regularly, and it’s especially important when you want to make big changes. You can learn more about how to backup your (WordPress) site here.

  4. Create the staging site using the staging plugin (example: WP Staging).

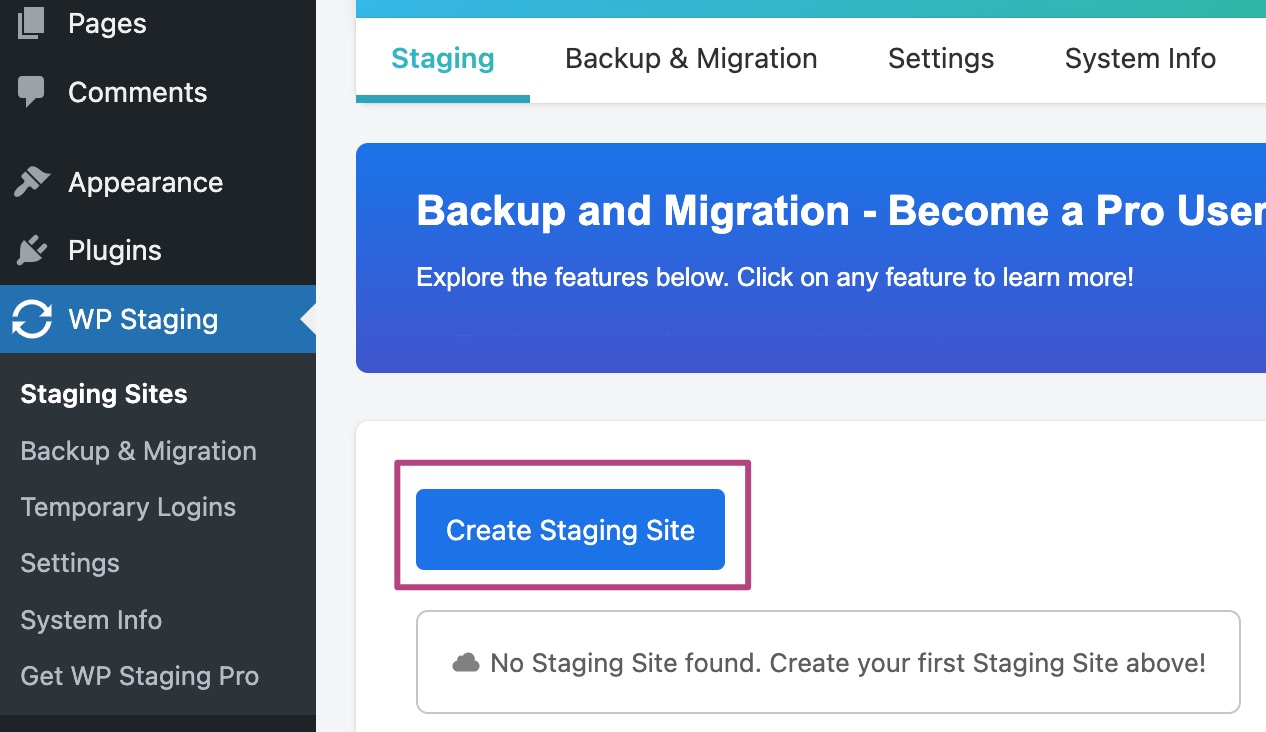
    After backing up your site, you’re ready to create the staging site. We’ll use the WP Staging plugin as an example to show you how this works. To create your staging site, click ‘WP Staging > Sites / Start’ in the Admin menu and click ‘Start cloning’.WP Staging - Create new staging site

  5. Select the files you want to clone and start cloning your site (example: WP Staging).

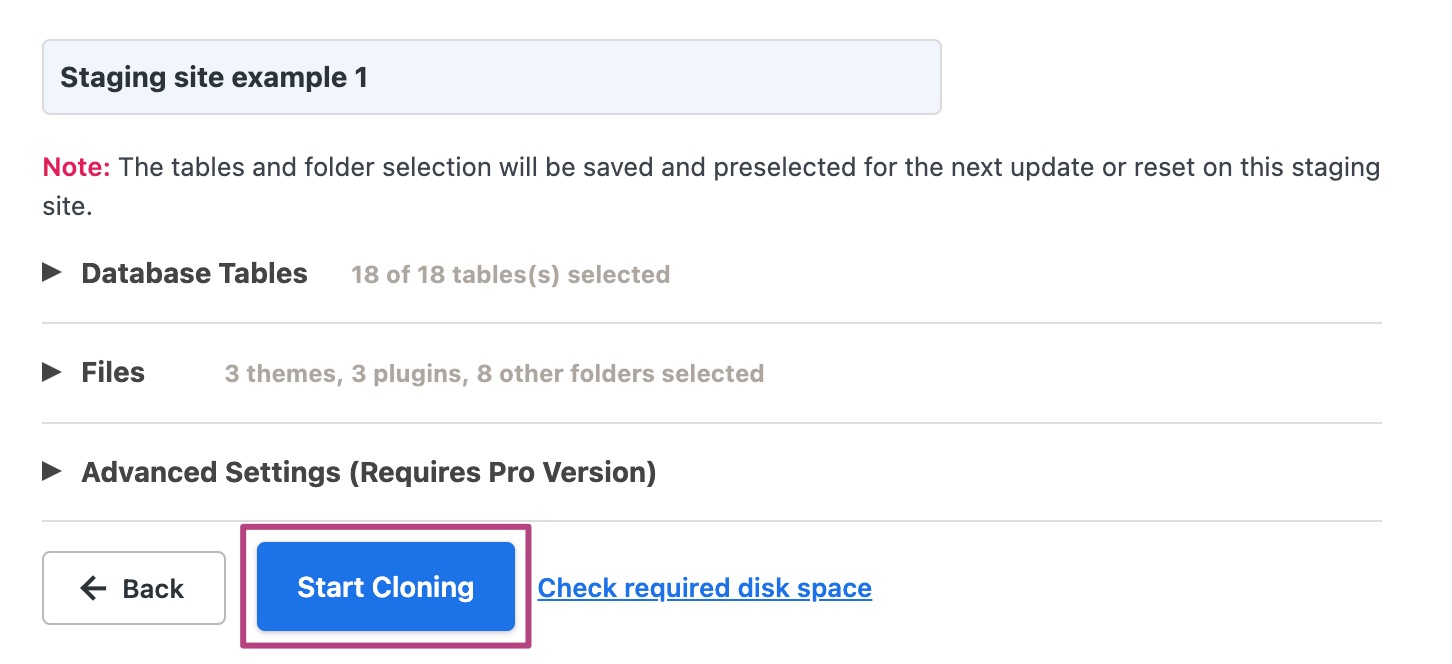
    After you do that, you will get the option to give your staging site a name, and choose the files you want to clone. Then, click the ‘Start Cloning’ button, and the cloning will commence. The duration of the cloning depends on the size of your site.
    Start cloning using the WP staging plugin

  6. Access your staging site (example: WP Staging).

    When the cloning is done, you can open your staging environment. To access the staging site, click the ‘Open staging site’ button. Then, you can log in with the same credentials you use for your regular website. 
    Open staging site using staging plugin

  7. Start testing!

    The environment of the staging site looks the same as your regular site (see image below), so getting around should not be a problem. You can now start testing!Getting around your staging site

Did this article answer your question?

Thanks for your feedback!

Get free SEO tips!